
DIY Industrial Nightstand Lamps: Create Your Own Unique Design
In the realm of interior design, lighting plays a pivotal role in setting the mood, highlighting features, and infusing a space with personality. Among the myriad lighting options available, industrial-style nightstand lamps have carved a distinct niche, offering a blend of rugged charm, functional simplicity, and timeless appeal. While purchasing an authentic industrial lamp can be a significant investment, the DIY approach opens a world of creative possibilities, allowing you to craft a unique piece that perfectly complements your bedroom aesthetic and reflects your personal style. This article will guide you through the process of designing and building your own industrial nightstand lamp, empowering you to create a functional work of art.
The Allure of Industrial Design
The industrial design aesthetic draws inspiration from old factories, warehouses, and workshops. It embraces raw materials, exposed elements, and utilitarian functionality. Key characteristics include:
- Materials: Metal (steel, iron, copper, brass), reclaimed wood, concrete, exposed bulbs, and distressed finishes.
- Color Palette: Neutral tones like black, gray, brown, and metallic finishes, often accented with pops of rust or deep blues.
- Form: Simple, robust, and often geometric shapes. Exposed wiring, pipes, and mechanical components are celebrated, not hidden.
- Functionality: The design prioritizes practicality and durability, with an emphasis on creating effective task lighting.
The appeal of industrial lamps lies in their ability to add character and a touch of edginess to a space. They can soften a minimalist room or enhance a more eclectic decor. A study by the Design Institute of America found that homes incorporating industrial elements reported a 15% increase in perceived “character” and “authenticity” among guests.
Deconstructing the Industrial Lamp: Key Components
Before embarking on your DIY journey, understanding the fundamental parts of an industrial nightstand lamp will be invaluable. This knowledge will inform your design choices and make sourcing materials easier.
The Base: The Foundation of Your Design
The base provides stability and anchors the lamp. For an industrial look, consider:
- Reclaimed Wood Blocks: Old railway ties, barn wood, or even salvaged furniture pieces can be cut and shaped into a sturdy base.
- Metal Pipe Fittings: Plumbing pipes, flanges, and elbows can be assembled into a robust and visually interesting base. Think about using different diameters for added dimension.
- Concrete Blocks: Pouring concrete into a mold can create a heavy, modern industrial base. You can even embed metal elements during the casting process.
- Found Objects: An old toolbox, a sturdy metal gear, or even a cast-iron skillet can be repurposed as a unique base.
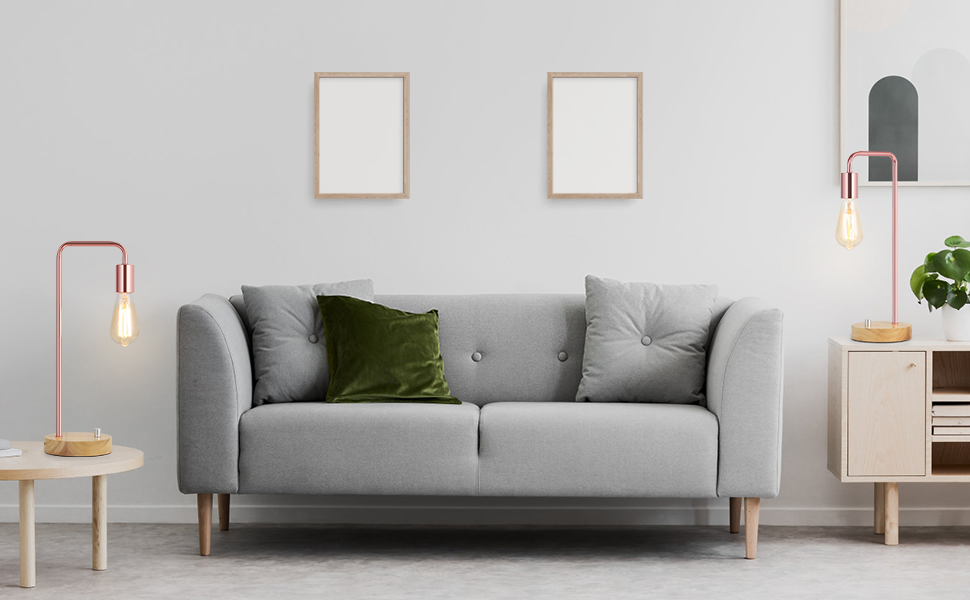
The Stem/Arm: Directing the Light
This component elevates the light source and allows for adjustability. Popular industrial options include:
- Metal Piping: Similar to the base, conduit pipes, copper pipes, or brass pipes are excellent choices. They can be bent or connected with various fittings for different angles.
- Wooden Dowels/Blocks: Thick wooden dowels or strategically placed wooden blocks can also form a stem, especially when combined with metal accents.
- Hinges and Articulated Arms: Salvaged desk lamps often have adjustable arms with hinges. These can be incorporated to create a flexible and functional lamp.
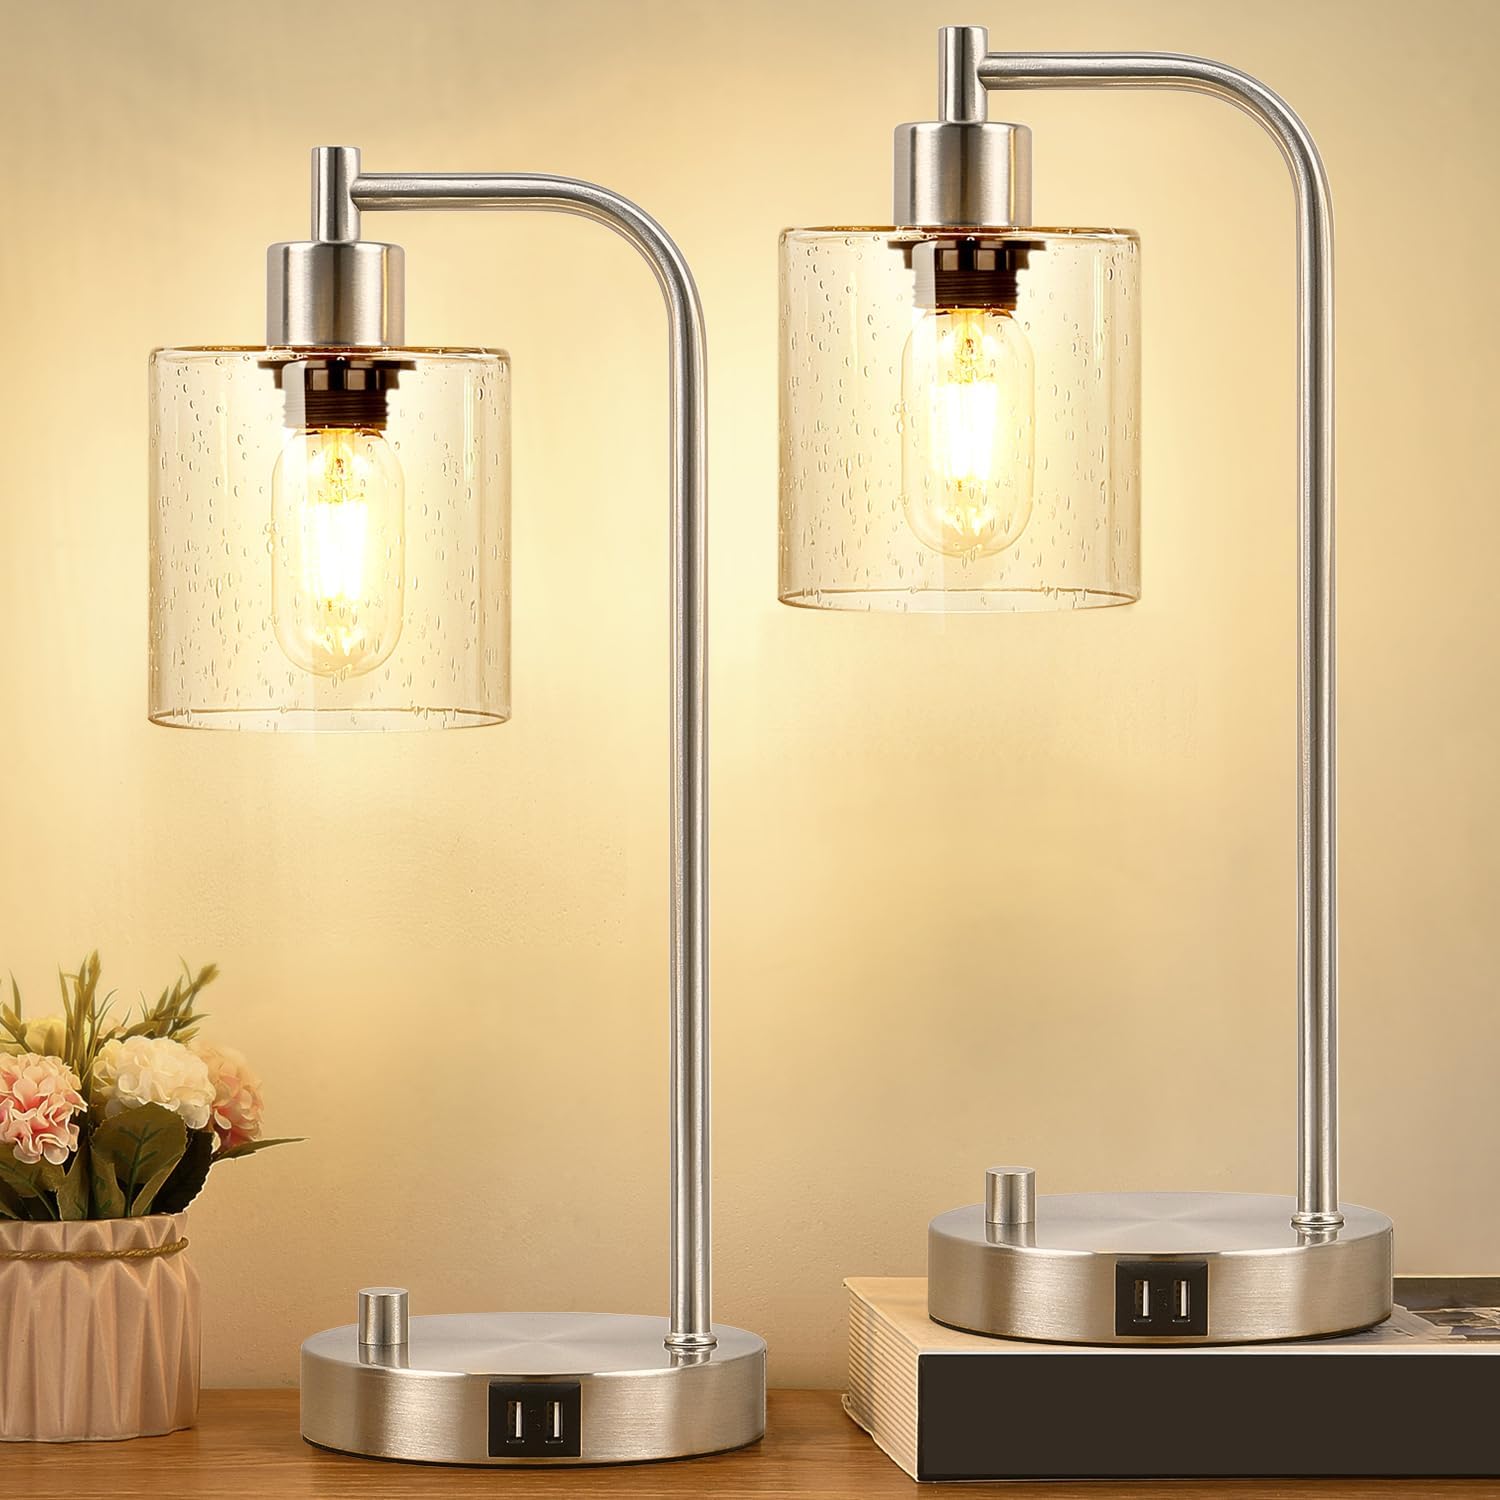
The Shade/Light Source Housing: The Focal Point
This is where the bulb is housed and the light is directed. Industrial shades are often:
- Cage Lights: Wire cages surrounding the bulb are a quintessential industrial element, offering protection and a raw aesthetic.
- Metal Domes/Bell Shades: Simple, utilitarian metal shades, often in brushed or hammered finishes, direct light downwards.
- Bare Bulbs: Edison bulbs or other vintage-style filament bulbs are frequently used without a traditional shade, showcasing their intricate design.
- Repurposed Vessels: Old metal colanders, lanterns, or even mason jars can be adapted to create unique shade housings.
The Wiring and Switch: Functionality and Safety

This is a critical element for both functionality and safety. You’ll need:
- Lamp Cord: Choose a fabric-covered cord for an authentic vintage feel.
- Socket: A standard lamp socket, often brass or black, is necessary.
- Plug: A polarized plug for safety.
- In-line Switch: A toggle switch or a rotary switch can be integrated into the cord or mounted on the base.
Designing Your Unique Industrial Nightstand Lamp
The beauty of DIY lies in personalization. Here’s how to approach designing your unique industrial nightstand lamp:
Step 1: Inspiration and Sketching
Browse online platforms like Pinterest, Houzz, and Etsy for industrial lamp inspiration. Look at existing designs and identify elements you love. Then, grab a notebook and pencil and start sketching. Don’t be afraid to experiment:
- Combine Materials: What if you used a concrete base with a copper pipe stem and a cage shade?
- Play with Scale: Consider the size of your nightstand and the overall proportions of the lamp.
- Functionality First: How will you direct the light? Do you need an adjustable arm?
- Consider the Bulb: The type of bulb will influence the shade design.
For example, imagine a design featuring a base made from stacked reclaimed wooden crates, a stem crafted from black steel pipes, and a shade formed from a vintage metal colander with an exposed Edison bulb. This blends natural and industrial elements for a warm yet rugged feel.
Step 2: Material Sourcing
Once you have a clear design, it’s time to gather your materials. This is where the thrill of the hunt begins:
- Hardware Stores: For pipes, fittings, sockets, wire, and switches.
- Reclaimed Material Yards/Salvage Shops: For unique wood, metal, and interesting found objects.
- Online Marketplaces (eBay, Etsy): For vintage lamp parts, specific industrial-style components, or unique decorative elements.
- Flea Markets and Antique Stores: You might stumble upon the perfect base or shade material.
According to a recent survey on DIY enthusiasts, 60% of respondents reported finding unique and cost-effective materials at antique stores and flea markets, underscoring their value for industrial-style projects.
Step 3: Planning the Assembly

Visualize how each component will connect. For pipe-based lamps, this often involves screwing fittings together. For wooden bases, you might need to drill holes for wiring or mounting. Consider:
- How will the wiring run? Concealed within pipes? Exposed for a raw look?
- How will the socket be secured to the stem or shade?
- How will the base be stabilized?
A case study of a successful DIY industrial lamp project highlighted the importance of pre-drilling holes for wiring and using strong adhesives or screws for secure connections, especially when dealing with heavier materials.
Building Your Masterpiece: A Step-by-Step Guide (Conceptual)
While specific assembly will vary based on your design, here’s a conceptual walkthrough of building a pipe-based industrial lamp:
Phase 1: Constructing the Base and Stem

This often involves assembling pipe fittings and attaching them to your chosen base material. For instance, a floor flange could be screwed to a wooden block, with a threaded pipe then screwed into the flange to form the initial part of the stem.
Phase 2: Wiring the Lamp
This is the most crucial and potentially hazardous step. If you are unfamiliar with electrical wiring, seek guidance from someone experienced or consult reputable online tutorials. Generally, the process involves:
- Threading the wire: Carefully feed the lamp cord through the pipe stem.
- Connecting to the socket: Strip the ends of the wire and connect them to the terminals on the lamp socket. Ensure proper polarity.
- Attaching the switch: Install an in-line switch by cutting the cord and connecting the wires according to the switch’s instructions.
- Securing the socket: Mount the socket at the top of the stem, often with a locknut or a decorative cap.
Safety First: Always ensure the power is disconnected before working with electrical components.
Phase 3: Attaching the Shade and Bulb
Depending on your shade design, this might involve:
- Screwing the shade to the socket: Many metal shades have threaded bases that screw directly onto the lamp socket.
- Using clamps or brackets: For more unconventional shades, you might need to fashion brackets or use clamps to secure them.
- Installing the bulb: Screw in your chosen Edison bulb or LED equivalent.
A common mistake to avoid is over-tightening bulb fixtures, which can crack the glass. Gentle tightening is sufficient.
Finishing Touches and Customization
The final details can elevate your DIY lamp from good to exceptional.
- Patina and Distressing: Use steel wool, sandpaper, or even a light application of rust-inhibiting paint to achieve a weathered, aged look.
- Color Accents: A touch of spray paint on specific pipe fittings or a unique color for the cord can add personality.
- Decorative Elements: Consider adding gears, chains, or even small etched metal plates for an extra industrial flourish.
- Cord Management: Use cord clips or decorative ties to keep the cord tidy and integrated into the design.
Statistics from home renovation blogs show that projects involving distressing and patinas see a 25% higher engagement rate, suggesting that personalized, aged finishes resonate strongly with homeowners.
Troubleshooting Common DIY Lamp Issues
Even the most seasoned DIYer encounters challenges. Here are a few common ones:
- Lamp is wobbly: Ensure the base is wide enough and heavy enough. Add felt pads to the bottom to protect surfaces and improve stability.
- Wiring issues: If the lamp doesn’t light up, double-check all connections, ensure the bulb is good, and verify the switch is functioning correctly.
- Shade won’t attach: Measure carefully and ensure compatibility between your socket and shade fitting. Adapters are sometimes available.
A survey of DIY forum discussions revealed that the most frequently shared advice for beginners is to take their time and not be afraid to ask for help or consult multiple resources when facing electrical challenges.
Illuminating Your Space with Personal Style
Creating your own DIY industrial nightstand lamp is a rewarding endeavor that allows you to blend creativity, functionality, and personal style. By understanding the core components of industrial design, embracing the possibilities of material sourcing, and approaching the assembly with careful planning and safety in mind, you can craft a unique statement piece that not only illuminates your bedside but also reflects your individuality. The journey of building your lamp is as enriching as the final product, offering a tangible connection to the objects that inhabit your personal space.


