Window vent covers are often overlooked yet invaluable components of a well-functioning and comfortable home. They provide a crucial barrier against unwanted elements, from scorching sun and driving rain to pesky insects and even noise pollution. While professional installation is an option, many homeowners discover that with a bit of preparation and the right guidance, installing window vent covers themselves is a straightforward and rewarding DIY project. This comprehensive guide will equip you with the knowledge and confidence to tackle this task like a seasoned pro, ensuring your home benefits from enhanced comfort, energy efficiency, and security.
Why Install Window Vent Covers? The Multifaceted Benefits

Before diving into the “how-to,” it’s essential to understand the compelling reasons behind installing window vent covers. These seemingly simple additions offer a surprising array of advantages:
Enhanced Energy Efficiency: A Cooler Home in Summer, a Warmer One in Winter
One of the most significant benefits of window vent covers is their impact on energy efficiency. In the summer, especially in sun-drenched regions, direct sunlight streaming through windows can dramatically increase indoor temperatures, forcing your air conditioning system to work overtime. Vent covers, particularly those with reflective or insulating properties, can significantly reduce solar heat gain. Studies by the U.S. Department of Energy have shown that effective window treatments can reduce heat gain by up to 77% during peak summer months. Conversely, in winter, these covers can act as an insulating layer, preventing precious heat from escaping through the glass, thereby reducing heating costs.
Improved Comfort and Reduced Glare
Beyond energy savings, vent covers contribute directly to your home’s comfort. The diffused light and reduced glare they provide make rooms more pleasant to be in, eliminating eye strain and improving the overall ambiance. Imagine a home office where you can work without squinting, or a living room where you can relax without being blinded by direct sunlight.
Protection from the Elements: Keeping Nature at Bay
Window vent covers act as a formidable defense against a variety of external threats:
- Rain and Snow: While not a complete waterproofing solution, they can significantly reduce the amount of rain and snow that blows into open windows during light to moderate precipitation.
- Insects and Pests: Open windows are an open invitation for flies, mosquitoes, and other unwelcome creatures. Vent covers create a physical barrier, allowing for ventilation without the intrusion of pests.
- Dust and Debris: In areas prone to dust storms or heavy pollen seasons, vent covers can filter out a considerable amount of airborne particles, contributing to cleaner indoor air quality.
Enhanced Privacy and Security
Depending on the type of vent cover chosen, they can also offer an added layer of privacy by obscuring the view into your home from the outside. Some heavier-duty covers can also deter casual intrusion, acting as a minor security enhancement.
Choosing the Right Window Vent Cover: A Material World
The market offers a diverse range of window vent covers, each with its own characteristics and best-suited applications. Understanding these options is key to making an informed decision:
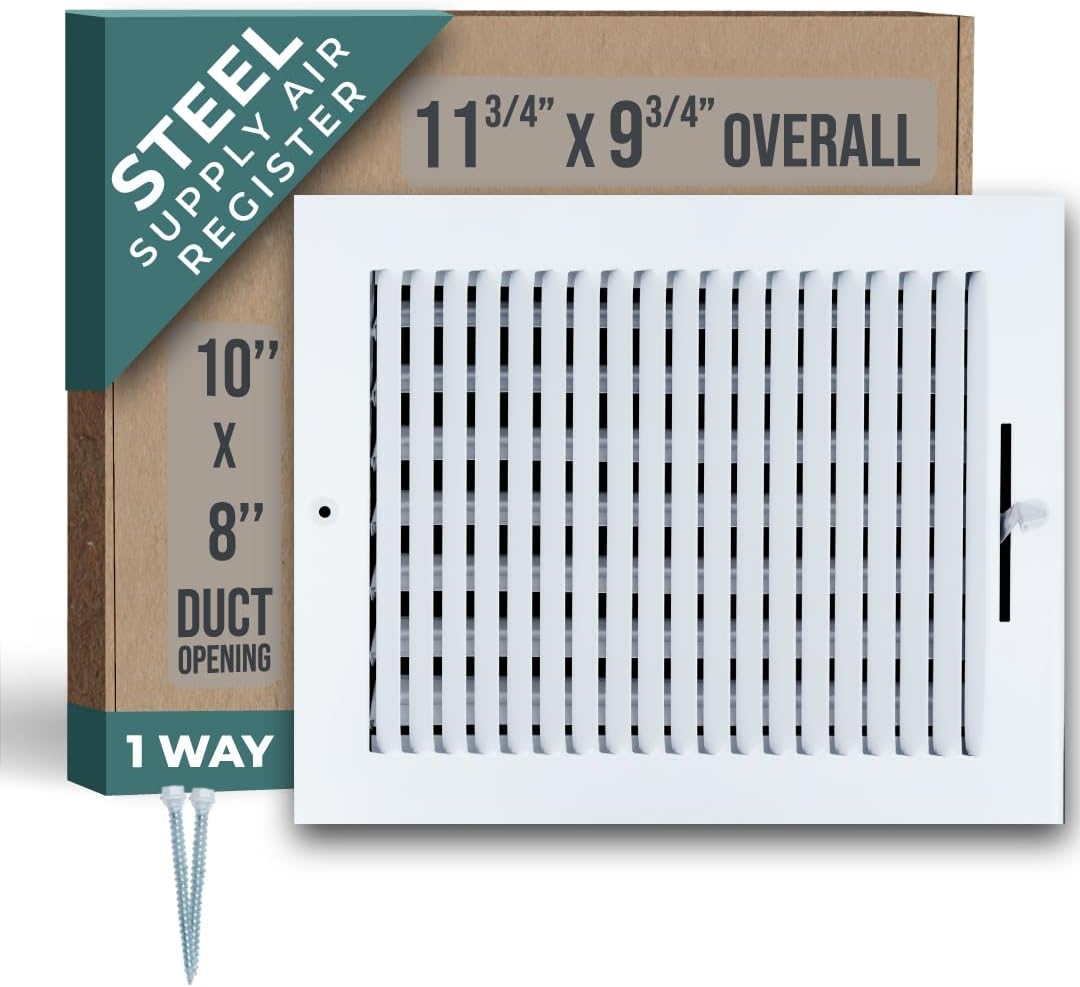
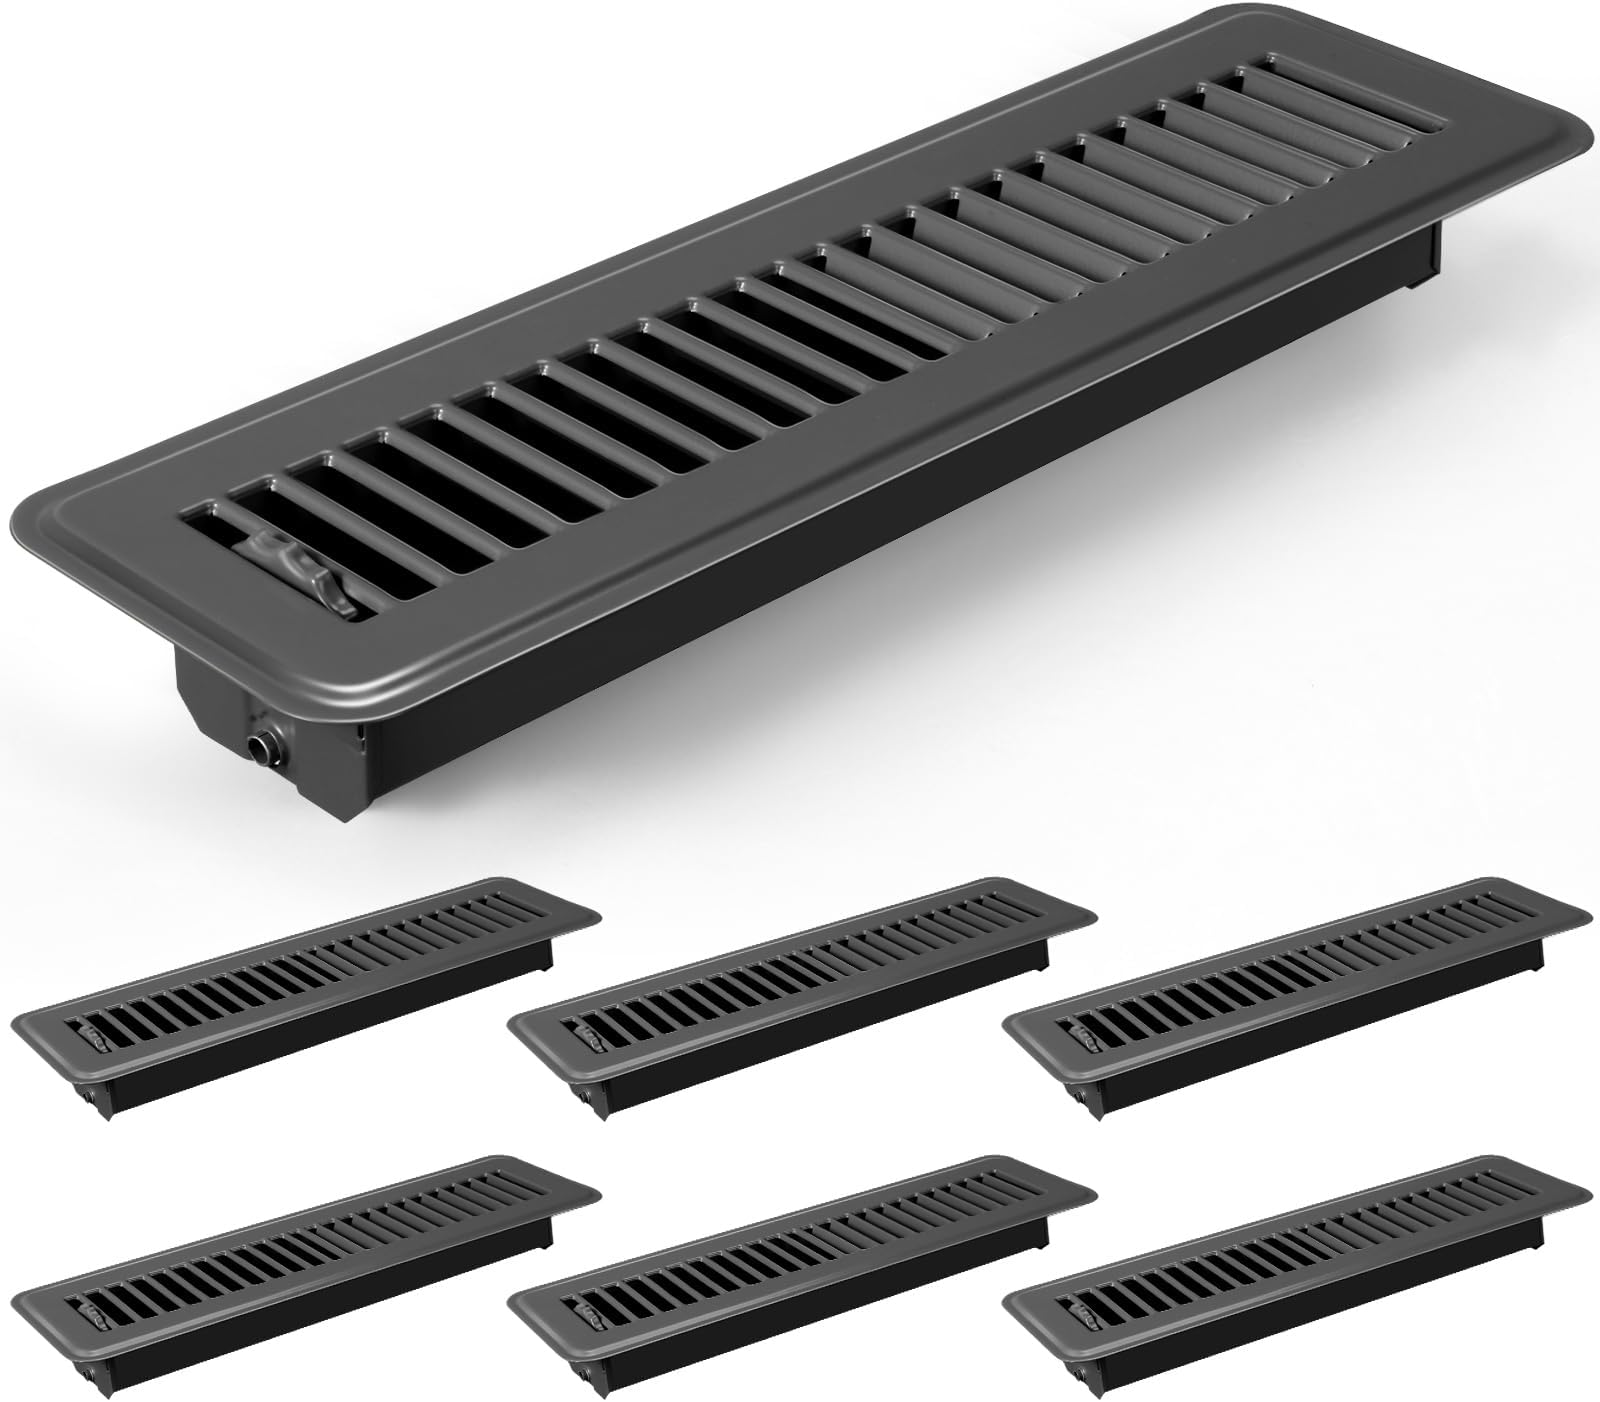
1. Louvered Vent Covers: The Classic Choice
These are perhaps the most common type, featuring angled slats (louvers) that allow air to flow through while deflecting rain and snow. They are generally made from:
- Aluminum: Lightweight, durable, and corrosion-resistant, aluminum is a popular choice for its longevity and low maintenance. It’s ideal for coastal or humid environments.
- Galvanized Steel: Offers good strength and durability at a more affordable price point than aluminum. The zinc coating provides a degree of rust protection.
- Plastic/Vinyl: Economical and lightweight, plastic covers are easy to install and maintain. However, they may be less durable and prone to fading or cracking over time compared to metal options.
2. Screened Vent Covers: The Insect Barrier
Similar to louvered covers, these incorporate a fine mesh screen to prevent insects and larger debris from entering. They are excellent for providing ventilation while maintaining a pest-free environment. Materials are similar to louvered covers, with the addition of various mesh types (fiberglass, aluminum, stainless steel).
3. Decorative and Architectural Vent Covers: Blending Function with Form
These vent covers are designed not only for functionality but also to enhance the aesthetic appeal of your home. They come in a variety of intricate patterns, wrought iron designs, and even custom-made options to complement architectural styles. While their primary function remains ventilation and protection, their design often takes precedence.
4. Insulated Vent Covers: Maximum Thermal Control
For superior energy efficiency, insulated vent covers are the way to go. These often feature a built-in insulating material, such as foam or reflective foil, to further minimize heat transfer. They are particularly beneficial in regions with extreme temperature variations.
The Installation Process: Step-by-Step Mastery
Now that you’ve chosen the perfect vent cover, let’s get to the installation. This process generally involves a few key stages, applicable to most standard vent cover types.
Step 1: Gather Your Tools and Materials
Having everything ready before you start will make the process smooth and efficient. You’ll typically need:
- Your chosen window vent covers
- Measuring tape
- Pencil or marker
- Drill with appropriate drill bits (for pilot holes and screws)
- Screwdriver (compatible with your chosen screws)
- Level
- Caulking gun and exterior-grade caulk
- Safety glasses
- Gloves
- Optional: Stud finder (if mounting to a wall structure)
- Optional: Utility knife (for trimming if necessary)
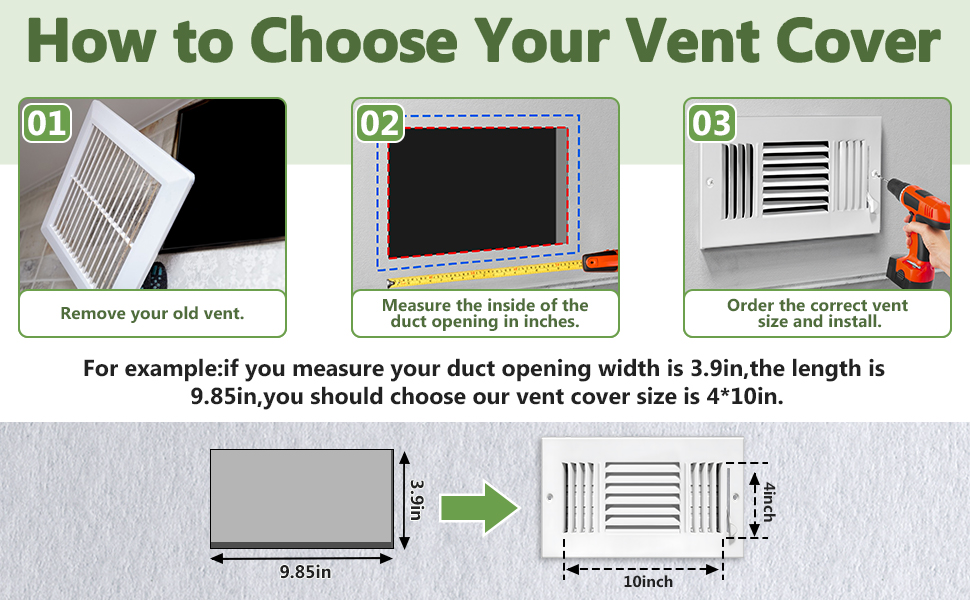
Step 2: Measure and Mark Your Installation Location
Precision is paramount. Carefully measure the dimensions of the opening where the vent cover will be installed. Consider the following:
- Vent Cover Dimensions: Ensure the vent cover you purchased is slightly larger than the opening it needs to cover to allow for overlap and secure mounting.
- Placement: Determine the ideal position for the vent cover. It should be centered and flush with the surrounding surface for a professional look and optimal function.
- Marking: Use your pencil or marker to lightly outline the position of the vent cover. For flush mounts, you might trace the outer edge. For surface mounts, you’ll mark the screw hole locations.
Step 3: Prepare the Surface
A clean and stable surface is essential for a secure and long-lasting installation.
- Cleanliness: Thoroughly clean the area around the window opening. Remove any dirt, debris, paint, or old caulk. A stiff brush or scraper can be helpful.
- Leveling: Use your level to ensure the surface is perfectly horizontal or vertical as needed. Small imperfections can be addressed with shims if necessary, though this is less common with standard vent covers.
Step 4: Pre-Drill Pilot Holes (If Required)
This is a crucial step that prevents the material (wood, vinyl siding, etc.) from splitting, especially when dealing with screws. Refer to the vent cover manufacturer’s instructions for specific guidance, but generally:
- Mark Screw Locations: Align the vent cover in its intended position and mark the locations where screws will be inserted.
- Drill: Using a drill bit slightly smaller than the diameter of your screws, drill pilot holes at the marked locations. Ensure you drill deep enough to accommodate the screw length. If you are mounting into a stud, use a stud finder and ensure your pilot holes align.
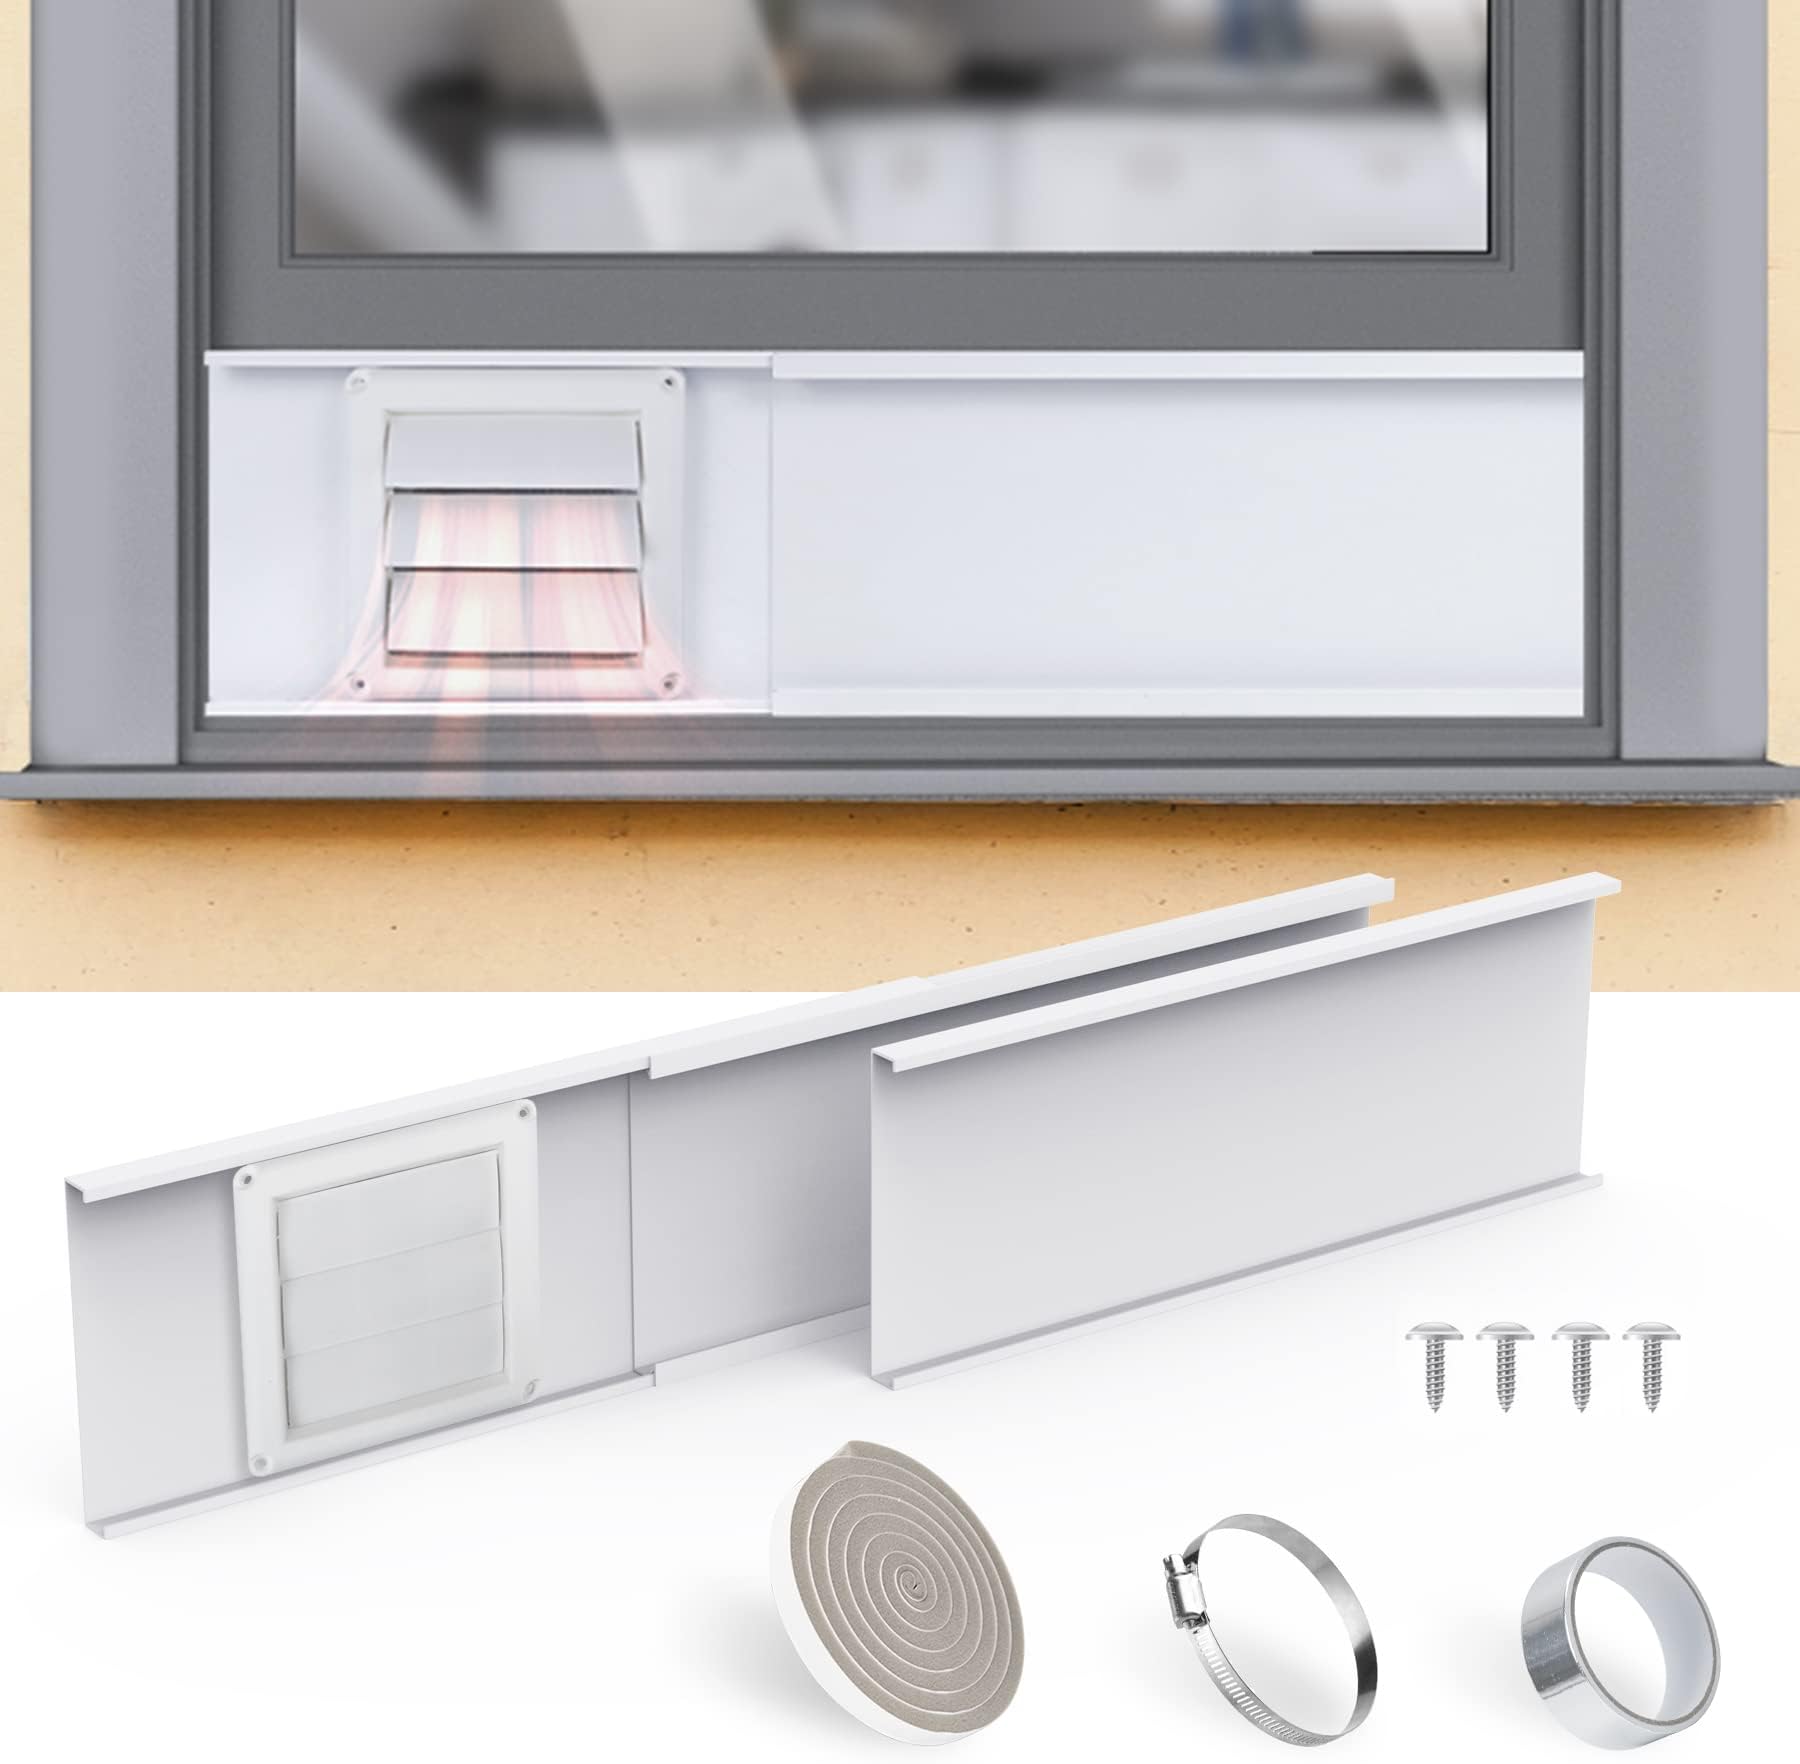
Step 5: Mounting the Vent Cover
This is where your vent cover starts to take shape on your window.
- Align and Secure: Position the vent cover over the opening, aligning the screw holes with your pilot holes.
- Insert Screws: Using your screwdriver or drill with a screwdriver bit, carefully insert the provided screws. Tighten them securely, but avoid over-tightening, which can strip the threads or damage the material.
- Check for Stability: Once all screws are in place, gently test the vent cover to ensure it is firmly attached and doesn’t wobble.
Step 6: Sealing for Protection (Crucial for Weatherproofing)
This is a critical step that many DIYers overlook, but it’s what truly elevates your installation from good to pro-level. Proper sealing prevents water infiltration and drafts.
- Apply Caulk: Using your caulking gun, apply a continuous bead of exterior-grade caulk around the perimeter of the vent cover, where it meets the wall or window frame. Aim for a neat, consistent bead.
- Smooth the Caulk: Use a damp cloth or your finger (dipped in water) to smooth the caulk, creating a clean, waterproof seal. This not only looks better but also ensures better adhesion.
- Wipe Away Excess: Promptly wipe away any excess caulk that squeezes out.
Step 7: Final Inspection and Cleanup
You’re almost there!
- Visual Check: Step back and admire your work. Ensure the vent cover is straight, secure, and the caulk line is clean.
- Test Functionality: If your vent cover has moving parts (like louvers), test them to ensure they operate smoothly.
- Dispose of Debris: Clean up any packaging materials, screws, or other debris from your work area.
Case Study: The Energy-Saving Transformation of the Miller Residence
The Miller family in Phoenix, Arizona, had long struggled with exorbitant summer electricity bills. Their large west-facing windows were a constant source of heat gain. After researching various solutions, they decided to install high-quality, reflective louvered vent covers on these windows. The DIY installation, guided by a similar process outlined above, took them a weekend. The results were remarkable. Their next electricity bill showed a 25% reduction in energy consumption, and more importantly, their home remained noticeably cooler and more comfortable during the peak summer months. This case highlights how a relatively simple DIY project can yield significant, tangible benefits.
Troubleshooting Common Issues
Even with careful planning, you might encounter minor challenges. Here are a few common ones and their solutions:
- Vent Cover Doesn’t Fit Perfectly: If the opening is slightly larger or smaller than expected, you might need to use shims for a snug fit or consider a slightly larger cover that can overlap the opening.
- Screws Won’t Go In Straight: Ensure your pilot holes are drilled straight and are of the correct diameter. If the material is very hard, a pilot hole is even more critical.
- Caulk Looks Messy: Practice makes perfect with caulking. For future projects, consider using painter’s tape to create a clean edge before applying caulk, then carefully peel it away once the caulk is applied and smoothed.
- Water Leaks After Installation: This almost always points to inadequate sealing. Re-caulk the perimeter thoroughly, ensuring a continuous, unbroken bead.
Elevate Your Home with Smart Vent Cover Installation

Installing window vent covers is a project within reach for most DIY enthusiasts. By understanding the benefits, choosing the right type of cover, and meticulously following the installation steps, you can significantly enhance your home’s comfort, energy efficiency, and overall appeal. Remember the importance of proper preparation, precise measurements, and thorough sealing. With the knowledge gained from this guide, you’re not just installing a vent cover; you’re investing in a more comfortable, cost-effective, and enjoyable living environment. Embrace the DIY spirit and transform your windows into functional assets that work for you, all year round.


