
Safety First: Tips for Properly Installing Your Bass Guitar Wall Mount
Your bass guitar is more than just an instrument; it’s a significant investment, both financially and emotionally. Keeping it safe and accessible is paramount, and a wall mount offers an elegant solution. However, the seemingly simple act of hanging your prized possession requires careful consideration to avoid potential accidents, damage, or injury. This article provides a detailed, safety-first approach to installing your bass guitar wall mount, ensuring your instrument remains secure and your home remains unscathed.
Why a Wall Mount? Benefits Beyond Aesthetics
Before diving into installation, let’s briefly touch upon the advantages of using a wall mount:
- Accessibility: Your bass is always within reach, encouraging more frequent practice and jamming sessions.
- Space-Saving: Frees up valuable floor space, ideal for smaller living areas or studios.
- Protection from Accidental Damage: Reduces the risk of your bass being knocked over by pets, children, or during general household activity.
- Display: Showcases your instrument as a piece of art, adding character to your room.
- Reduced Humidity Fluctuations: Hanging your bass can allow for better air circulation, potentially mitigating extreme humidity shifts that can affect wood.
While the benefits are clear, the “how” of installation is where safety truly takes precedence.
Assessing Your Bass Guitar’s Weight and Dimensions

This is the foundational step for choosing the right mount and ensuring its stability. Bass guitars are generally heavier than their six-string counterparts, often ranging from 8 to 12 pounds (approximately 3.6 to 5.4 kg) or even more for extended-range or heavily modified instruments. Always consult your bass manufacturer’s specifications or weigh your instrument yourself. This information will dictate the weight-bearing capacity required for your wall mount and the hardware used for installation.
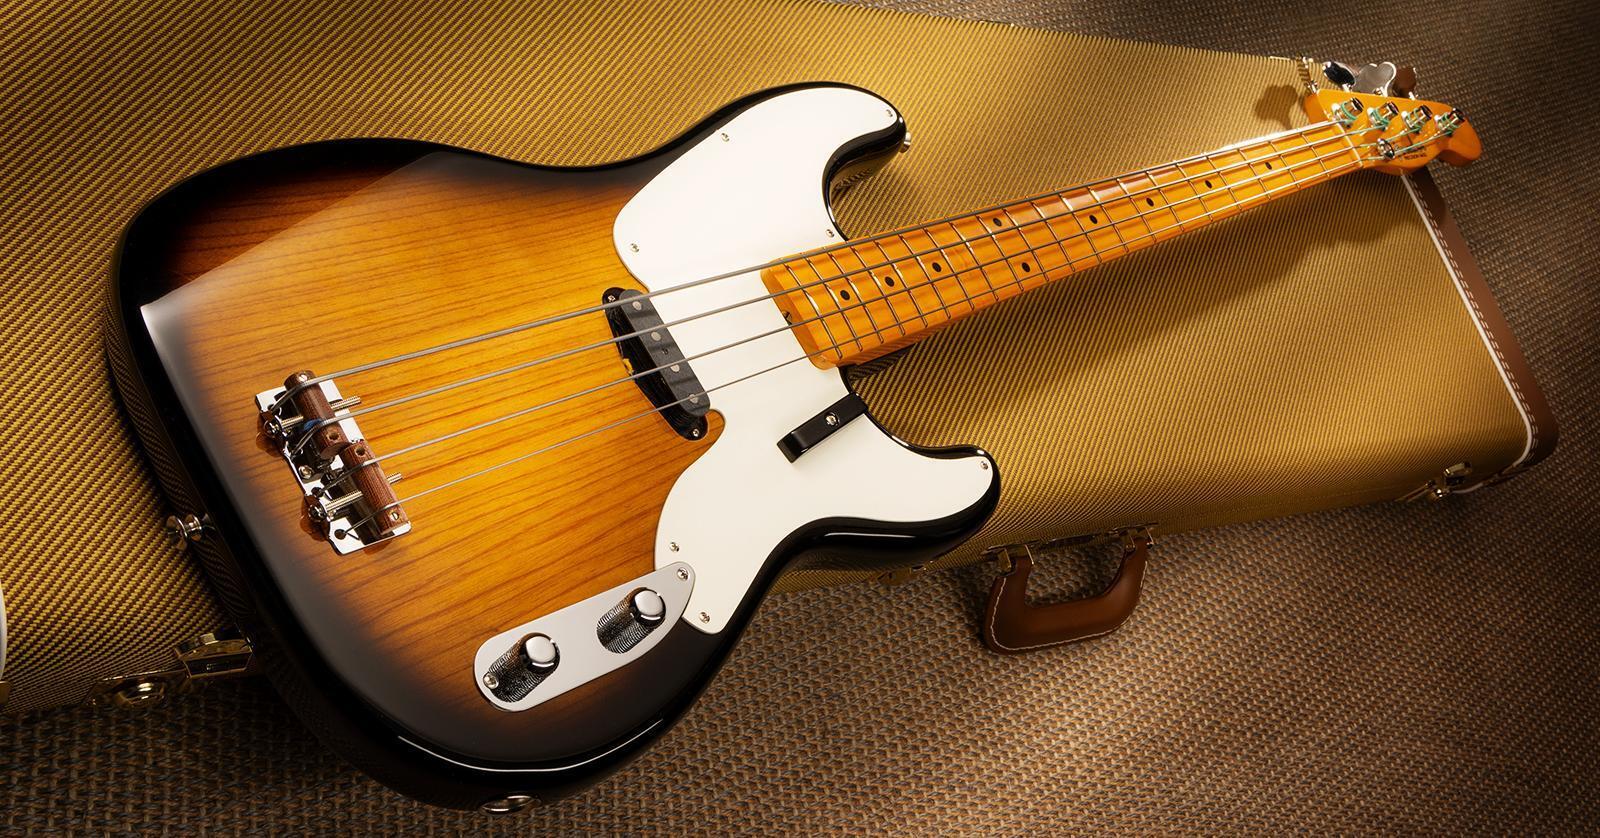
Example: A standard Fender Precision Bass typically weighs around 9 pounds (4.1 kg). A heavier seven-string or active bass might push the 11-12 pound mark (5-5.4 kg). Ensure the mount and its fixings can comfortably support more than this weight to account for dynamic forces (like accidental bumps) and a safety margin.
Choosing the Right Wall Mount: A Critical Decision
Not all wall mounts are created equal. Selecting a mount specifically designed for bass guitars or that boasts a high weight capacity is crucial. Look for mounts constructed from sturdy materials like steel and those that offer ample padding to protect your instrument’s finish.
Key Features to Look For:
- Weight Capacity: Exceed the weight of your bass significantly. Aim for a mount rated for at least 20-30 pounds (9-13.6 kg) to be safe.
- Strap/Neck Support: Ensure the design securely cradles the neck and/or body of your bass without putting undue pressure on vulnerable points. Some mounts use adjustable cradles, others a simple hook.
- Padding: High-density foam or rubber padding is essential to prevent scratches and dents.
- Locking Mechanism (Optional but Recommended): Some mounts include a strap or mechanism to secure the neck, offering an extra layer of security against accidental dislodgement. This is particularly useful for touring musicians or in homes with very active children or pets.
- Adjustability: For multi-instrument rooms, consider mounts that can accommodate different guitar shapes and sizes.
Case Study: A user reported a guitar falling from a mount because the neck cradle was too narrow and didn’t adequately support the guitar’s headstock, leading to it slipping out. This highlights the importance of considering your specific bass’s headstock shape and the mount’s design.
Understanding Your Wall Structure: The Heart of Secure Installation
This is arguably the most critical step. The strength of your wall mount installation hinges entirely on the integrity of the wall structure it’s attached to. Simply screwing into drywall without hitting a stud is a recipe for disaster. Drywall alone cannot bear the weight of a bass guitar, let alone the dynamic forces it might encounter.
Identifying Your Wall Type:
- Stud Walls (Most Common in Residential Construction): These are walls with vertical wooden or metal beams (studs) behind the drywall. This is the ideal scenario for secure mounting.
- Plaster and Lath Walls: Older homes often have plaster walls supported by wooden lath. These can be trickier to work with and may require specialized anchors.
- Concrete or Brick Walls: These offer excellent strength but require specific masonry anchors and drill bits.
Finding Wall Studs: The Essential Technique
Locating studs is paramount for drywall installations. Here are the most effective methods:
- Stud Finder: Electronic stud finders are widely available and are generally the easiest and most reliable method. Follow the manufacturer’s instructions carefully.
- Tap Test: Lightly tap the wall. A solid, resonant sound indicates a stud, while a hollow sound suggests empty space. This method is less precise but can be a good initial indicator.
- Outlet/Switch Plate Method: Electrical boxes are almost always attached to studs. Measure 16 inches (or 24 inches, depending on stud spacing) from the edge of the electrical box, as this is a common stud placement.
- Small Pilot Hole: As a last resort, you can drill a very small, discreet pilot hole where you suspect a stud to be. If you hit solid wood, you’ve found it. Patching this hole is simple.
Statistics: Standard US residential construction typically places studs 16 inches on center, though 24 inches is also common. Knowing this spacing can help you predict stud locations.
Selecting the Right Hardware: The Unsung Hero
Once you’ve identified your wall type and found your studs, choosing the appropriate mounting hardware is the next crucial safety step. Never use the screws provided with a generic wall mount if they seem inadequate for your wall type or the weight of your bass. Always opt for hardware that is rated to exceed the weight of your instrument and the mount combined.
For Stud Walls:
- Wood Screws: Use high-quality wood screws specifically designed for structural applications. Aim for a length that penetrates at least 1 to 1.5 inches (2.5 to 3.8 cm) into the stud. The diameter should be substantial, typically #10 or #12 gauge.
- Lag Bolts: For extremely heavy instruments or extra security, lag bolts (often with washers) provide superior holding power. Ensure they are properly sized for your mount’s screw holes.
For Drywall (When Studs are Not Available – Use with Extreme Caution):
It is strongly advised to always mount into studs. If absolutely unavoidable, use the highest-quality, load-bearing drywall anchors designed for significant weight. This is a less secure option and should be a last resort.
- Toggle Bolts: These have “wings” that spread out behind the drywall, distributing the weight over a larger area.
- Molly Bolts: Similar to toggle bolts, these expand behind the drywall.
- Heavy-Duty Screw-In Anchors: Some anchors are designed to be screwed directly into drywall and claim high weight capacities. Always verify their load ratings.
Important Note: Even the best drywall anchors have limitations. Relying solely on them for a bass guitar is risky. Always prioritize mounting into studs.
For Concrete or Brick Walls:
- Masonry Anchors (Screws or Expansion Anchors): Use anchors specifically designed for brick and concrete. These often require pre-drilling with a masonry bit.
- Tapcons: These are self-tapping concrete screws that are a popular and secure option.
The Installation Process: Step-by-Step Safety

With your mount chosen and hardware ready, it’s time for the installation. Patience and precision are key.
- Mark the Location: Hold the wall mount against the wall in your desired position. Use a pencil to mark the screw hole locations. Double-check that these marks align with your discovered studs (if applicable).
- Pre-Drill Pilot Holes: This is essential for all wall types, especially for wood studs.
- For studs: Use a drill bit slightly smaller than the diameter of your screws or lag bolts. This prevents the wood from splitting and ensures a tight fit.
- For drywall anchors: Follow the anchor manufacturer’s instructions for pilot hole size.
- For concrete/brick: Use a masonry bit of the appropriate size and drill to the required depth.
- Install the Mount:
- Stud Installation: Drive the screws or lag bolts firmly into the pilot holes, ensuring the mount is flush against the wall and secure. Do not overtighten, which can strip the wood or damage the mount.
- Drywall Anchor Installation: Follow the anchor’s instructions precisely. This often involves inserting the anchor first, then the screw.
- Concrete/Brick Installation: Install the masonry anchors according to their instructions, often involving tapping them into the pre-drilled hole before inserting the screw.
- Test the Mount: Before hanging your bass, apply significant pressure to the mount. Push and pull on it to ensure it’s absolutely solid and doesn’t budge. Gently hang an item of similar weight (e.g., a toolbox) on it as a further test.
- Hang Your Bass: Carefully place your bass guitar onto the mount, ensuring it’s securely cradled. If your mount has a locking mechanism, engage it.
Where to Mount Your Bass: Strategic Placement for Safety

Beyond the structural integrity of the wall, consider the surrounding environment.
Location Considerations:
- Avoid High-Traffic Areas: Don’t hang your bass in narrow hallways or near doorways where it can be accidentally bumped.
- Keep Away from Heat Sources: Radiators, vents, and direct sunlight can cause temperature fluctuations that are detrimental to your instrument.
- Consider Humidity: While hanging can improve airflow, avoid areas with extreme humidity swings (e.g., near bathrooms or kitchens without proper ventilation).
- Height: Mount it at a comfortable height for you to access, but out of reach of small children and pets if possible.
- Avoid Overhead Hazards: Ensure nothing is directly above the bass that could fall on it.
Example: Mounting a bass directly above a radiator can lead to finish issues and wood expansion/contraction cycles, potentially causing fret sprout or even cracks. A living room wall away from direct sunlight and HVAC vents is often a safer bet.
Maintenance and Ongoing Checks
Your responsibility doesn’t end after installation. Regular checks are crucial.
- Periodically inspect the mount and its hardware for any signs of loosening, rust, or wear.
- Tighten screws or bolts if necessary, but do so carefully to avoid overtightening.
- Ensure padding remains intact and doesn’t show signs of degradation.
Statistics: While no specific statistics exist for wall mount failures, anecdotal evidence suggests that neglect of maintenance is a common factor in hardware failures across many applications.
Properly installing your bass guitar wall mount is a straightforward process when approached with a safety-first mindset. By understanding your instrument’s weight, choosing a robust mount, meticulously identifying your wall structure, selecting appropriate hardware, and carefully executing the installation, you create a secure and reliable home for your bass. Prioritizing studs for all installations, utilizing the correct tools, and performing regular checks will ensure your instrument remains safely displayed and ready to rock for years to come. Investing a little extra time and attention during the installation process will save you from potential heartache, costly repairs, and the risk of injury.


